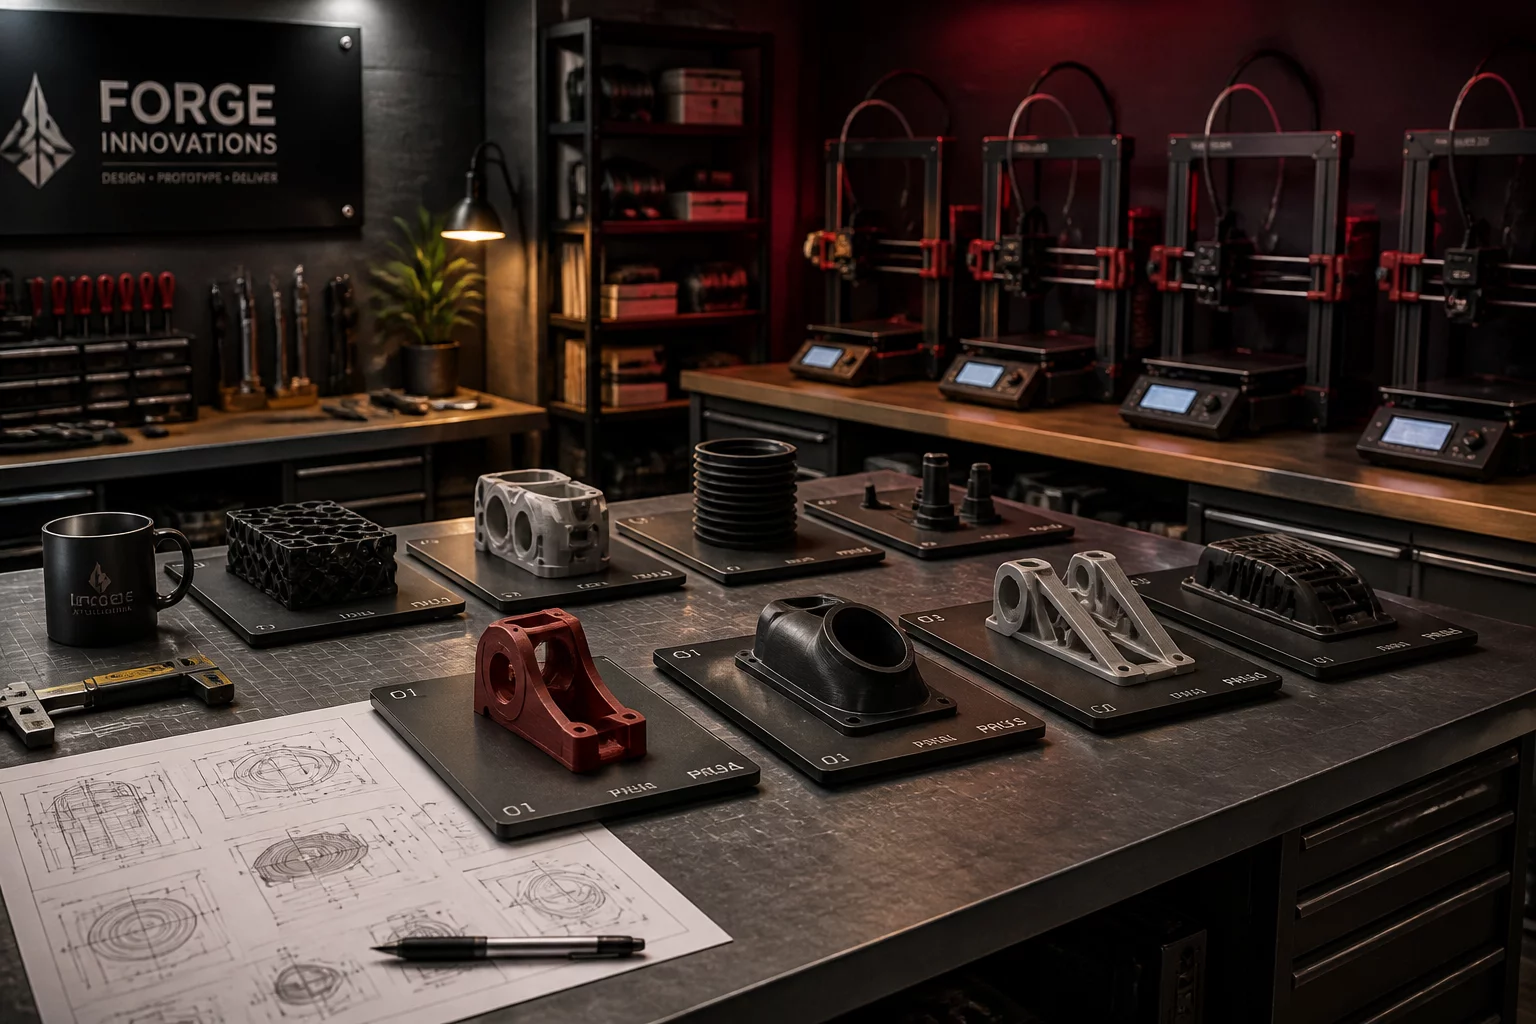
What This Guide Covers
Ten structured principles to transform Bambu Studio multi-plate layouts from chaotic packing into logical production stages.
Start with the Whole Assembly
Before dropping individual STL or STEP files onto bed plates, evaluate how mating parts connect, their mechanical tolerances, and which sub-assemblies must be tested first.
List the Required Parts
Create an exhaustive bill of materials distinguishing core chassis items, internal gears, interface brackets, and cosmetic bezels to avoid missing hardware later.
Define Plate Roles
Rename Plate 1, Plate 2, and Plate 3 in Bambu Studio to role-specific tags such as Structural-Core, Kinetic-Drive, and Wear-Replacements.
Group Related Parts
Position components that assemble together on the same plate. If a plate completes, an entire module can be built and verified immediately.
Separate Replaceable Components
Isolate wear-prone gears, clips, and latches onto dedicated low-volume plates so future maintenance reprints do not require re-slicing entire structural sets.
Review Material Context
Coordinate filament presets across plates: keep high-temp engineering filaments grouped on distinct plates from aesthetic PLA or PETG components.
Use Auto-Arrange as a Layout Tool
Auto-arrange computes geometric packing, not project semantics. Let auto-arrange solve clearance within an assigned plate, rather than scrambling project roles.
Review Orientation
Verify layer line directions for each part against shear stress vectors. Never accept auto-rotation if it compromises tensile or layer-adhesion strength.
Check Each Plate Before Slicing
Inspect seam placements, support interfaces, purge volumes, and travel clearance layer-by-layer to catch collision hazards before pushing print jobs.
Record the Project Logic
Document filament batch numbers, assembly dependencies, and revision dates in project notes so the build can be repeated accurately months later.
Assembly Sequence vs Maximum Plate Density
When slicing complex assemblies, packing every square centimeter of bed space produces disorganized component buckets. Organizing plates by assembly role accelerates physical builds and minimizes downtime.
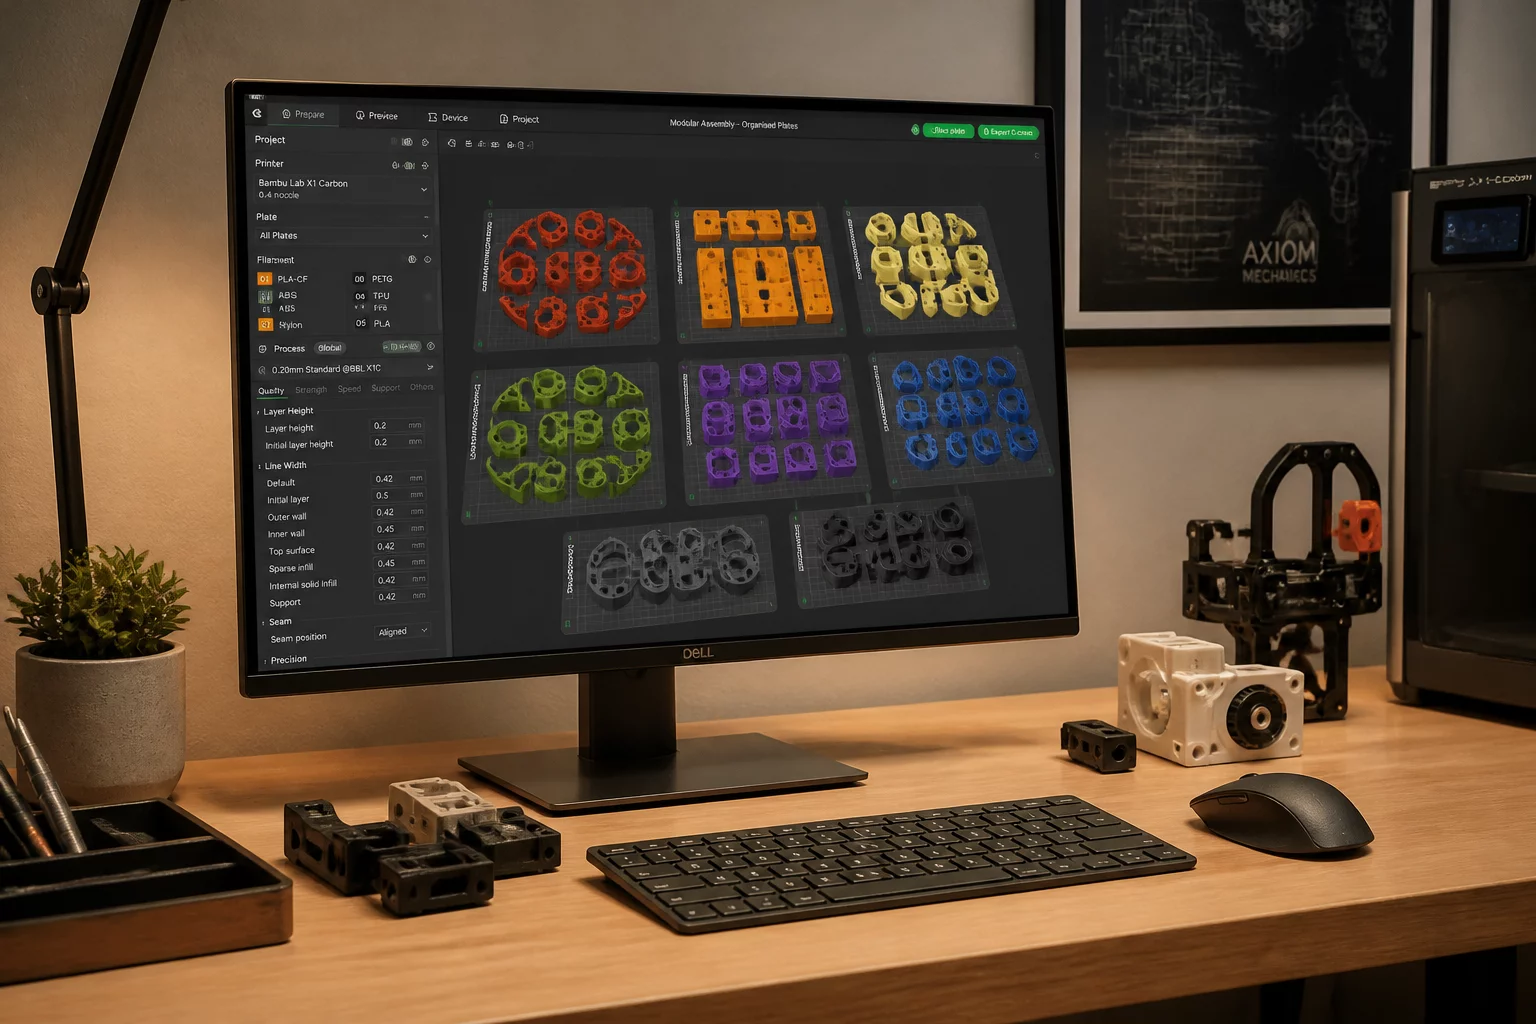
The Logic Behind Role Separation
Auto-arrange treats a 3D bed as a packing bin. PlateRole treats each plate as a synchronized construction phase. Compare the six-step sequence below.
Assembly Components Breakdown
Isolate the project into distinct assemblies: main housing, gear train, interface bracket, and snap covers. Tag parts by their structural responsibility before assigning bed space.
Plate Groups Assignment
In Bambu Studio, create explicit plate containers. Assign the motor mount and structural frame to Plate A, while the high-wear spur gears go to Plate B in tough nylon or PETG-CF.
Auto-Arrange Execution
Execute auto-arrange strictly per plate container. Never run global bed auto-arrange that scatters grouped subcomponents randomly across available virtual sheets.
Orientation Review
Rotate parts individually so shear vectors run perpendicular to layer boundaries. Inspect cantilever sections to confirm overhang angles remain self-supporting.
Slice & Toolpath Audit
Slice plate by plate. Examine the travel speeds, seam lines, support interface layers, and total material usage across each isolated plate file.
Plate Role Note & Archival
Label the 3MF project with detailed metadata: plate naming, layer height overrides, and expected assembly order. Save the master project archive.
Product Boundary and Disclaimer
PlateRole Notebook is an independent educational resource about organizing multi-part print projects across plates.
PlateRole Notebook does not provide Bambu Studio software, printer accounts, machine operation, printer servicing, firmware, profiles, or official product assistance.
Plate-role methods are independent project-organization conventions rather than built-in Bambu Studio requirements.