Why Default Plate Names Cause Workshop Failures
In collaborative additive manufacturing setups and print farms, shared 3MF project files represent the central link between CAD preparation engineers and print operators. Leaving plate names at their system defaults—such as Plate 1, Plate 2, or Plate 5—forces every technician to open separate documentation or manually inspect geometry before hitting print. In fast-paced production schedules, this uncertainty frequently results in parts printed on incompatible textured surfaces, mismatched layer heights, or runs dispatched with the wrong filament spools.
A standardized plate taxonomy embeds vital production requirements directly into the slicer canvas header. When an operator glances at the software interface or the printer touch screen, the plate label immediately communicates the assembly stage, physical component role, material specification, and intended build plate surface. Standardizing this syntax removes personal interpretation and transforms the 3MF file into a foolproof dispatch ticket.
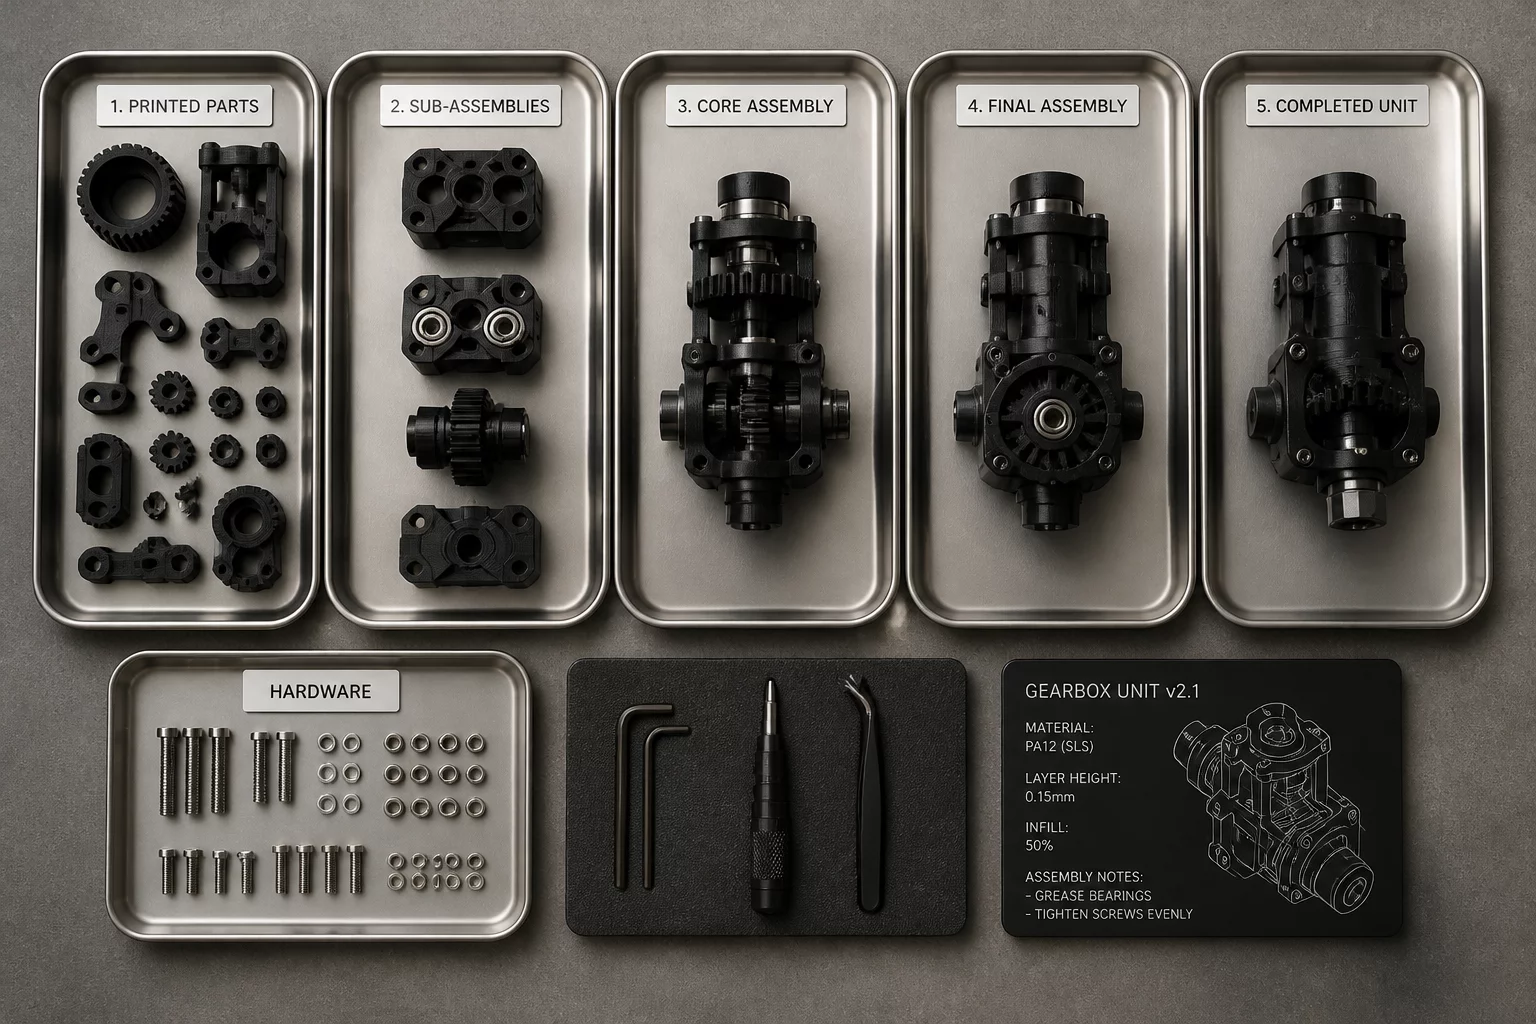
Establish Assembly Stages Before Slicing
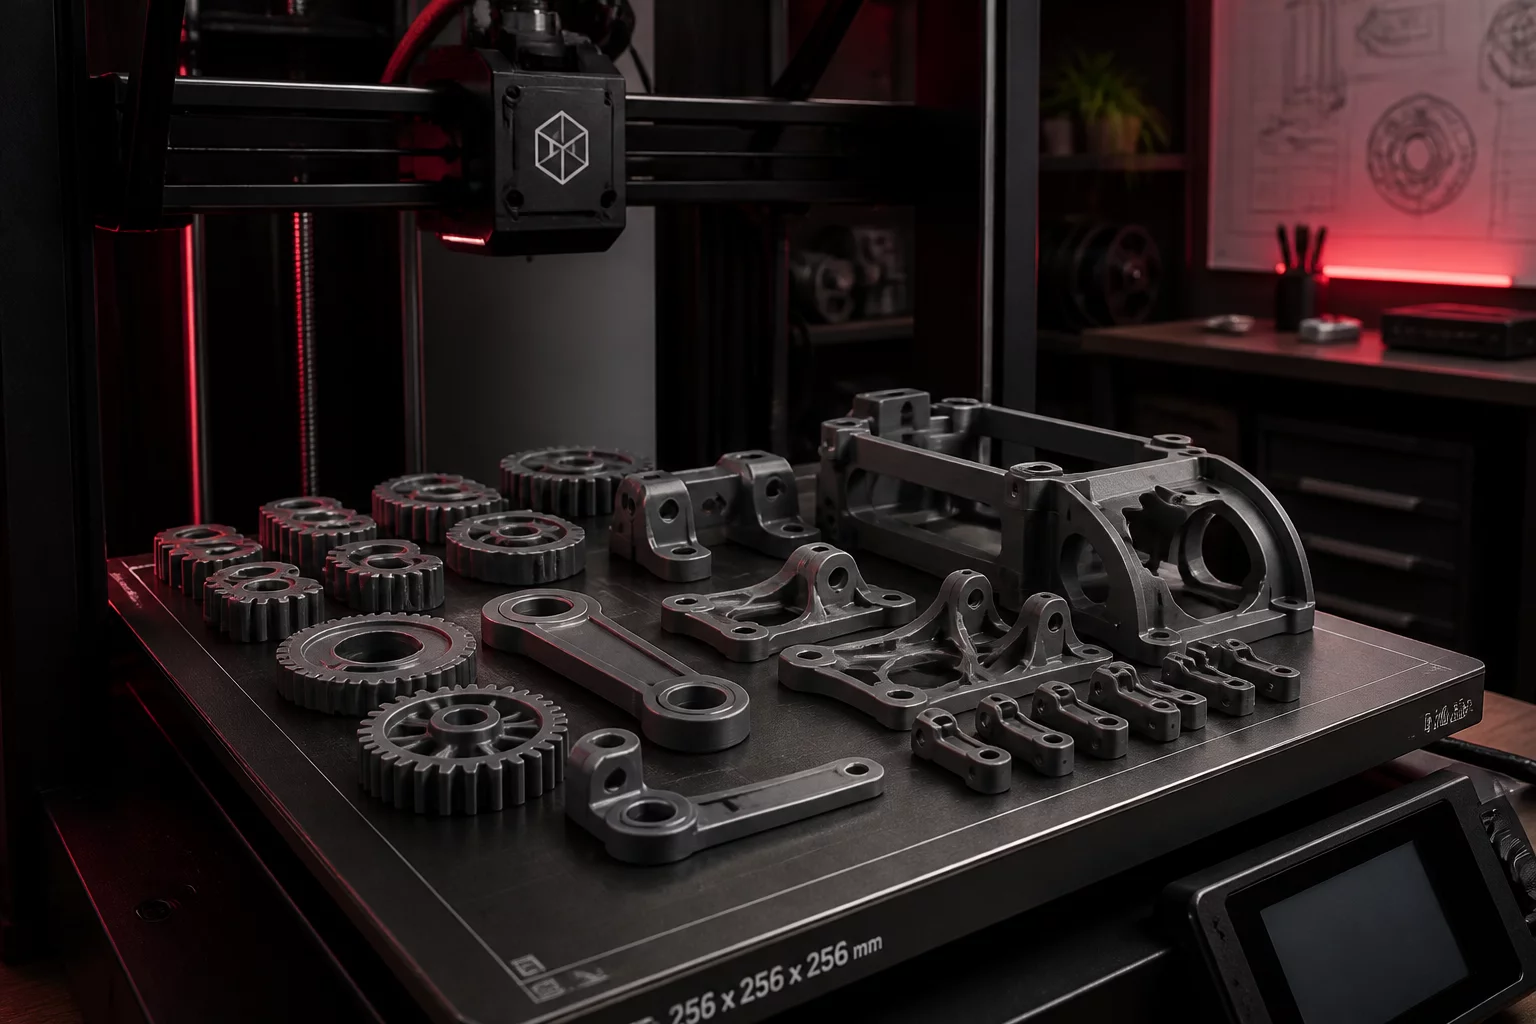
Naming works best when parts are grouped logically by real-world physical assembly sequences rather than random bed fills.
The 4-Segment Standard Naming Syntax
PlateRole Notebook recommends a four-segment taxonomy formatted as [SequenceIndex]_[Role/Component]_[MaterialCode]_[PlateSurface]. Adopting this structure provides clarity across slicer previews, exported G-code lists, and mobile farm monitoring dashboards. Avoiding informal shorthand prevents several common shop floor mistakes:
- Ambiguous labels like "Plate_Final" or "Extra_Parts" create confusion during shift changes.
- Omitting the material suffix causes high-temperature filaments to be queued on printers preheated for standard PLA.
- Ignoring build sheet designation leads operators to run PETG or TPU on smooth surfaces without required release agents.
"A slicer plate name is not a casual bookmark; it is an active production routing tag that guides the operator's physical hands at the machine bed."
— Elena Rostova, Production Operations Lead
Practical Implementation in Bambu Studio Workspaces
In Bambu Studio and compatible slicers, double-clicking any plate header canvas unlocks inline renaming. For an industrial bracket and enclosure build, the plates should appear sequentially: 01_BASE-FRAME_PETG-CF_PEI, 02_MAIN-HOUSING_ABS_ENG, and 03_SEALS-GASKETS_TPU95A_SMOOTH. Technicians loading the print job instantly know which spool to route to each toolhead and which magnetic build sheet to lay down.
When reprints are required after destructive validation or testing, named plates streamline rework. Instead of sorting through bloated 15-part plates or guessing which bed held the revised latches, engineers dispatch only the targeted plate identifier directly from the central repository.
Frequently Asked Questions
Most desktop slicers, including Bambu Studio, begin truncating plate names in the left side drawer after 24 to 28 characters. Keeping segments concise ensures full visibility across both PC screens and smaller touch interfaces.
In production facilities operating mixed 0.4 mm and 0.6 mm hotends, appending -04 or -06 to the plate title prevents high-speed volumetric profiles from accidentally running on standard fine-detail setups.
Yes, modern multi-plate slicers incorporate the individual plate name directly into the generated print job title. This displays accurate material and role details on remote fleet dashboards and printer touch panels.